The Process of Building a Stone Patio: A Step-by-Step Guide
A stone patio can transform your outdoor space into a beautiful, functional area for relaxation, entertaining, and dining. Whether you’re planning to build a cozy space for morning coffee or a large patio for gatherings, the process of building a stone patio requires careful planning and execution to ensure long-lasting results. Here’s a step-by-step guide to help you understand the process of creating the perfect stone patio.
1. Planning and Design
The first step in building a stone patio is planning the layout and design. This stage involves determining the size, shape, and location of your patio. Consider how you want to use the space and how it will integrate with the rest of your landscaping. Do you prefer a circular, rectangular, or freeform shape? What kind of stone do you want—natural flagstone, slate, or pavers?
At this point, it’s also essential to check local building codes and regulations. You may need a permit for your project, especially if it involves extensive excavation or drainage considerations.
2. Selecting the Materials
Choosing the right stone is critical to the aesthetic and functionality of your patio. Stones like flagstone, slate, granite, and limestone are popular choices due to their durability and natural beauty. When selecting materials, consider the following:
- Color and Texture: Natural stones come in various colors and textures, allowing you to match your patio with your home’s exterior or surrounding landscape.
- Durability: Choose stones that can withstand weather conditions in your region. Harder stones like granite are ideal for high-traffic areas, while softer stones like limestone are better suited for decorative spaces.
- Budget: Natural stone can be more expensive than concrete or brick, but it offers unmatched beauty and longevity.
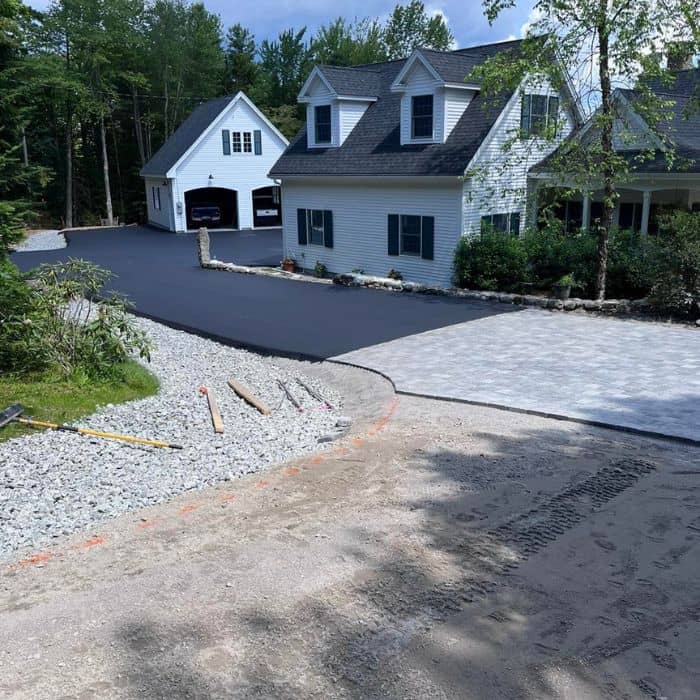
3. Excavation and Ground Preparation
Once the design is finalized and materials are chosen, the next step is preparing the site. This involves:
- Marking the Area: Use stakes, string, or marking spray to outline the perimeter of the patio.
- Excavation: Dig down to the necessary depth, typically 6 to 10 inches, depending on the type of stone and the foundation required. This ensures enough space for the base layers that will provide stability and drainage.
- Leveling and Slope: Proper leveling is essential to prevent uneven surfaces. You’ll also need to incorporate a slight slope (about 1/8 inch per foot) to allow water to drain away from the patio, avoiding puddles and water damage.
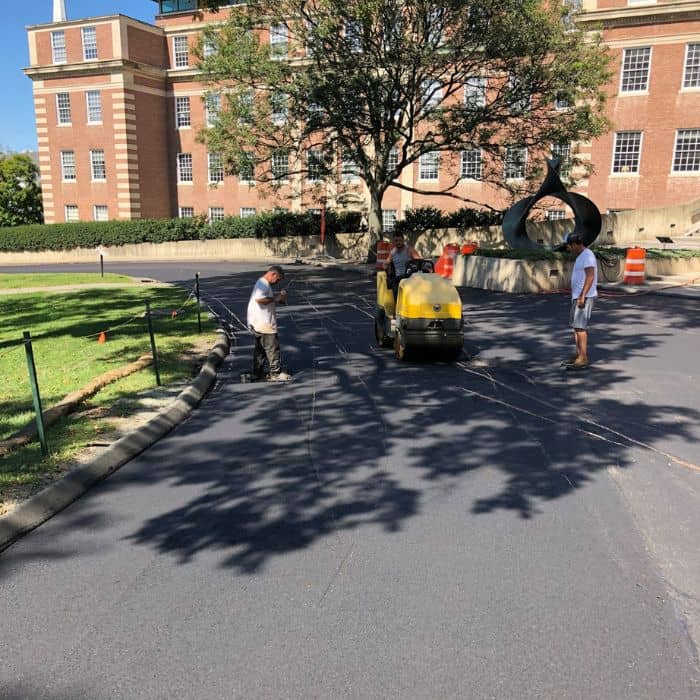
4. Laying the Base
A strong foundation is crucial for the durability of your stone patio. The base layer usually consists of compacted gravel and sand:
- Gravel Layer: Add a 4 to 6-inch layer of crushed gravel to the excavated area. This layer provides drainage and helps prevent the patio from shifting over time.
- Compacting: Use a plate compactor to compact the gravel, ensuring a solid and stable base.
- Sand Layer: Add a 1 to 2-inch layer of coarse sand over the gravel. This layer helps level the stones and provides a smooth surface for laying them.
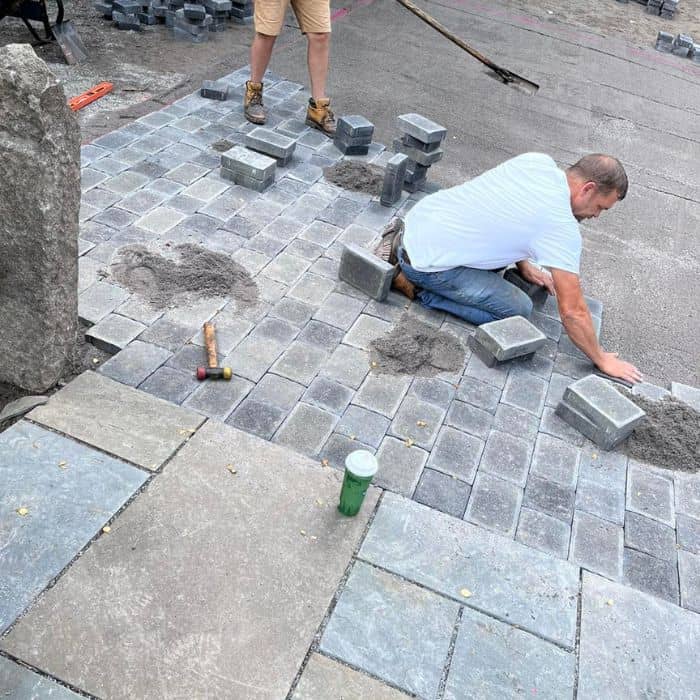
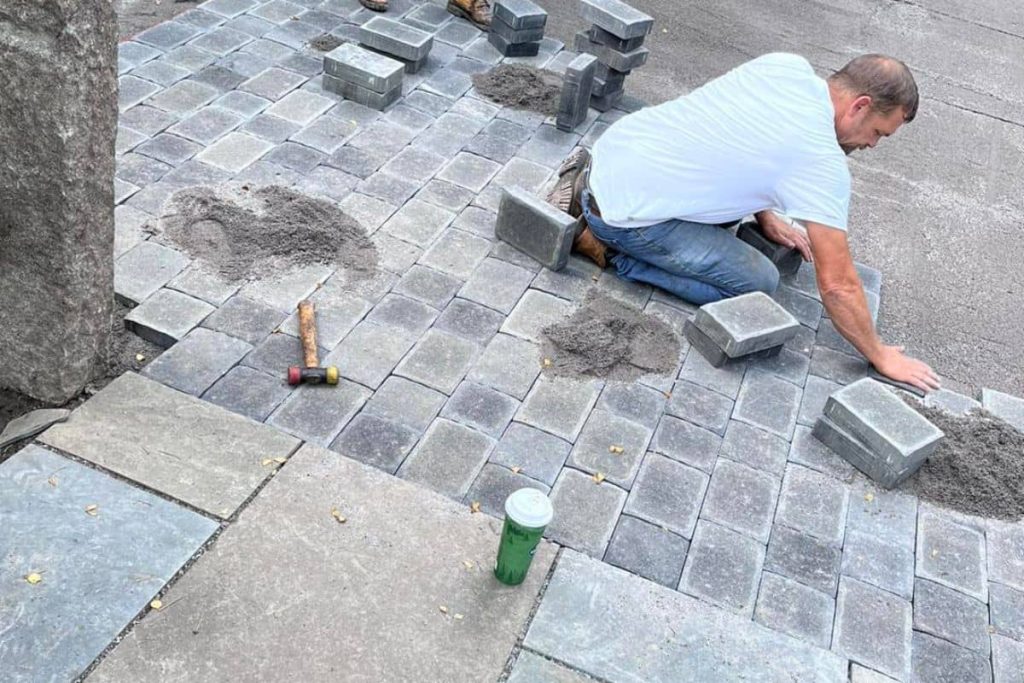
5. Laying the Stones
Now comes the most exciting part—laying the stones:
- Positioning the Stones: Begin by laying the stones in your desired pattern, starting at one corner and working your way outward. Use a rubber mallet to gently tap the stones into place, ensuring they are level with one another.
- Cutting Stones: For a more tailored fit, you may need to cut some stones to fit the edges of your patio or around obstacles like trees or garden beds. A masonry saw or chisel can be used for cutting stones.
- Spacing: Leave small gaps (1/4 to 1/2 inch) between stones to allow for expansion and contraction, especially with natural stones that may shift slightly over time.
6. Filling the Joints
Once all the stones are laid, it’s time to fill the joints:
- Joint Material: Sweep sand or fine gravel into the gaps between the stones. For a more permanent solution, you can use polymeric sand, which hardens when activated with water, preventing weed growth and insect infestations.
- Sealing the Joints: Wet the area with a hose to activate the polymeric sand, ensuring it sets properly.
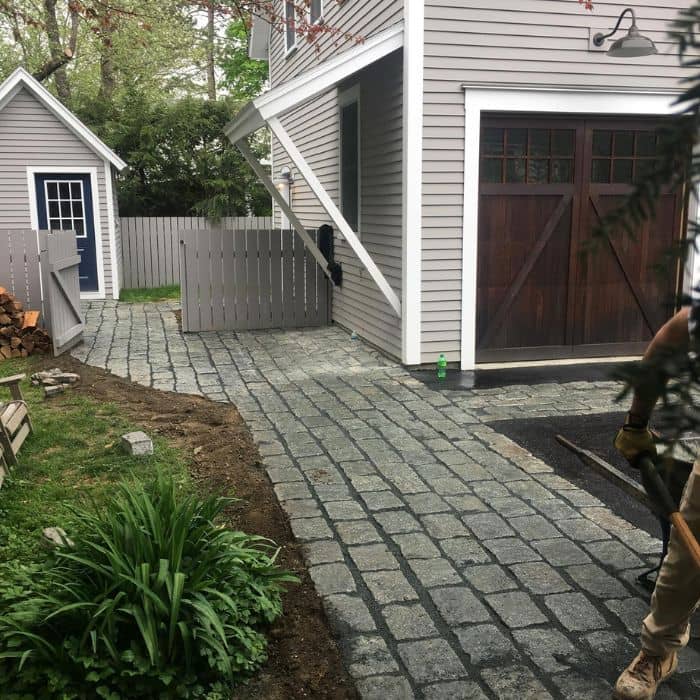
7. Finishing Touches
After the patio is complete, you can add some finishing touches to enhance its appearance and functionality:
- Edging: Install edging around the patio to prevent the stones from shifting and to give the patio a clean, finished look.
- Sealing (Optional): You may choose to apply a sealant to protect the stones from stains, weathering, and fading. Sealing is especially recommended for porous stones like limestone or sandstone.
- Landscaping: Integrate your new patio with the surrounding landscape by adding plants, lighting, or furniture to create a welcoming outdoor space.
8. Maintenance
To keep your stone patio looking its best, regular maintenance is required:
- Cleaning: Sweep the patio regularly to remove debris and prevent stains. For deeper cleaning, use water and a mild detergent, or a pressure washer for tough stains.
- Weed Control: Keep an eye on any weeds growing between the stones and remove them promptly.
- Resanding (If Needed): Over time, sand in the joints may wear away due to weather or foot traffic. Simply add more sand and sweep it into the joints to maintain stability.
Conclusion
Building a stone patio is a rewarding project that can greatly enhance the beauty and functionality of your outdoor space. By following these steps and working with an experienced contractor or doing it yourself with the right tools and materials, you can create a stunning patio that will stand the test of time. Whether you’re looking for a cozy backyard retreat or a space for entertaining, a well-built stone patio is an investment that will add value and enjoyment to your home for years to come.
If you’re considering a stone patio for your home, Twin State Paving is here to help. With five generations of experience, we specialize in designing and building custom stonework that transforms outdoor spaces. Contact us today to discuss your project!